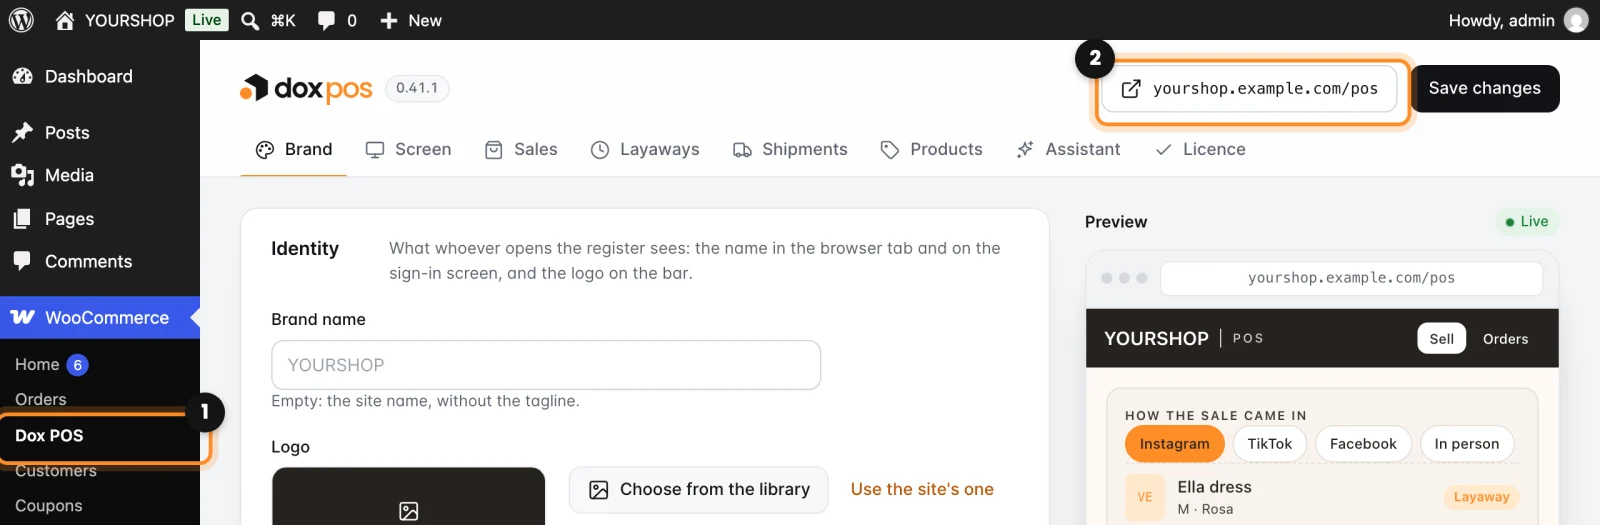
Dox POS Pro · Needs Dox POS 0.36 or newer
Dox POS Pro adds the business assistant to the register: what is pending today, the review of your shop, the chat, the forecast and the daily summary by email. When you buy it, a key arrives by email. With it you install the Pro and turn it on.
Get your key
Buy the Pro on doxstudio.com/dox-pos: US$12 a month or US$99 a year. The key and the download link arrive by email, usually within a minute.
Can’t find the email? Check the spam folder, or get the key again at my.doxstudio.com/my-key with the email you bought with.
Install Dox POS Pro
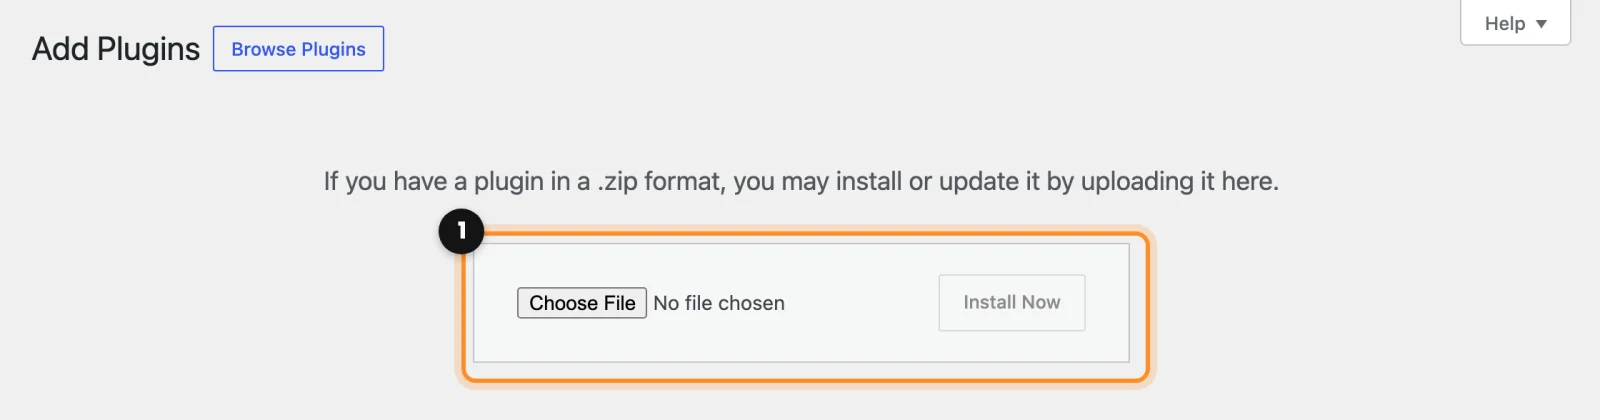
- With Dox POS already active, go to Plugins › Add New Plugin and click Upload Plugin.
- Choose the
dox-pos-prozip from the email and click Install Now (1). Then click Activate Plugin.
Paste the key
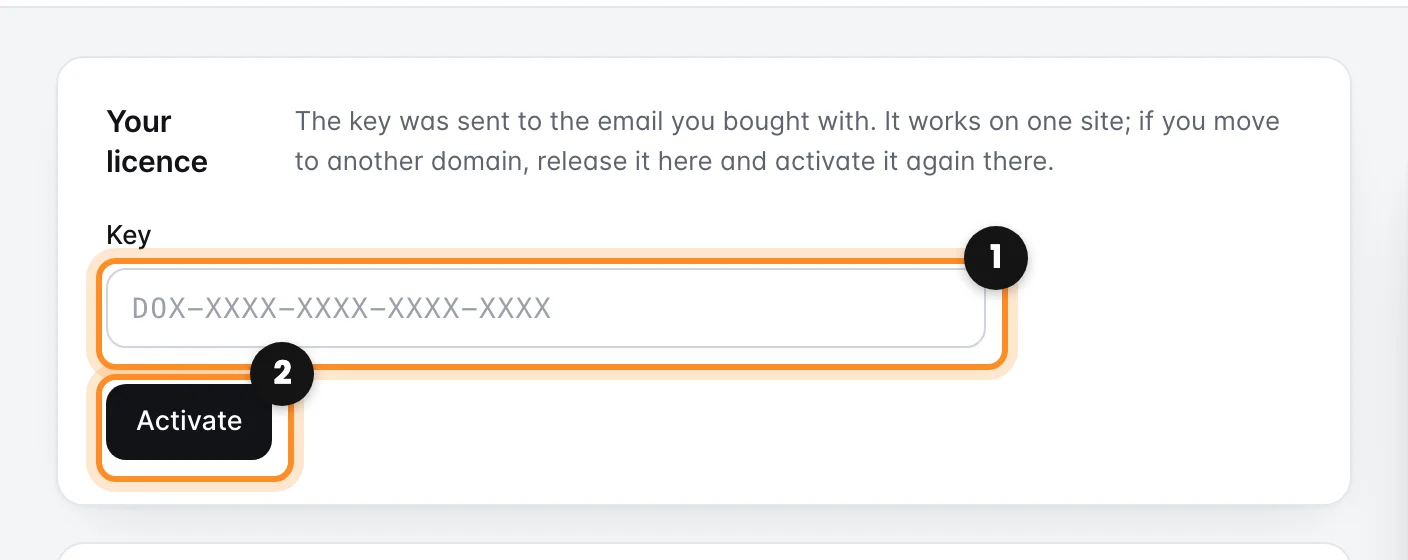
- Go to WooCommerce › Dox POS and open the Licence tab.
- Paste the key (1) and click Activate (2).
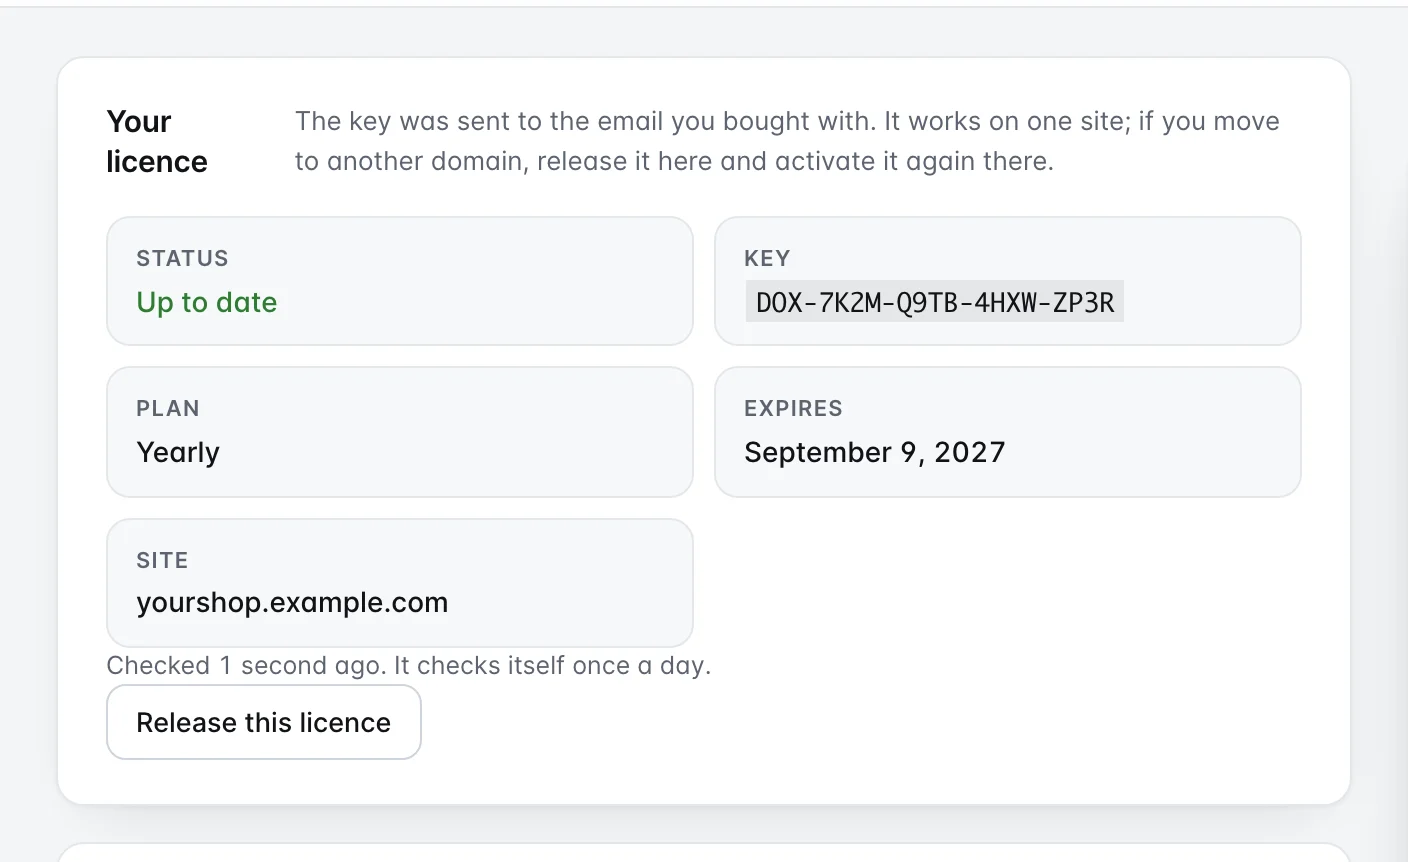
That’s it. The tab says the licence is up to date and shows the plan and when it renews, and the Assistant tab shows up next to it. In the register, administrators and shop managers see the assistant too.
Move it to another site
A key works on one site at a time. To use it on another domain, click Release this licence on the current site, then paste the key on the new one.
Note: if the subscription ends, the register keeps selling as always. What stops is the updates of the Pro and the assistant’s questions through our server.