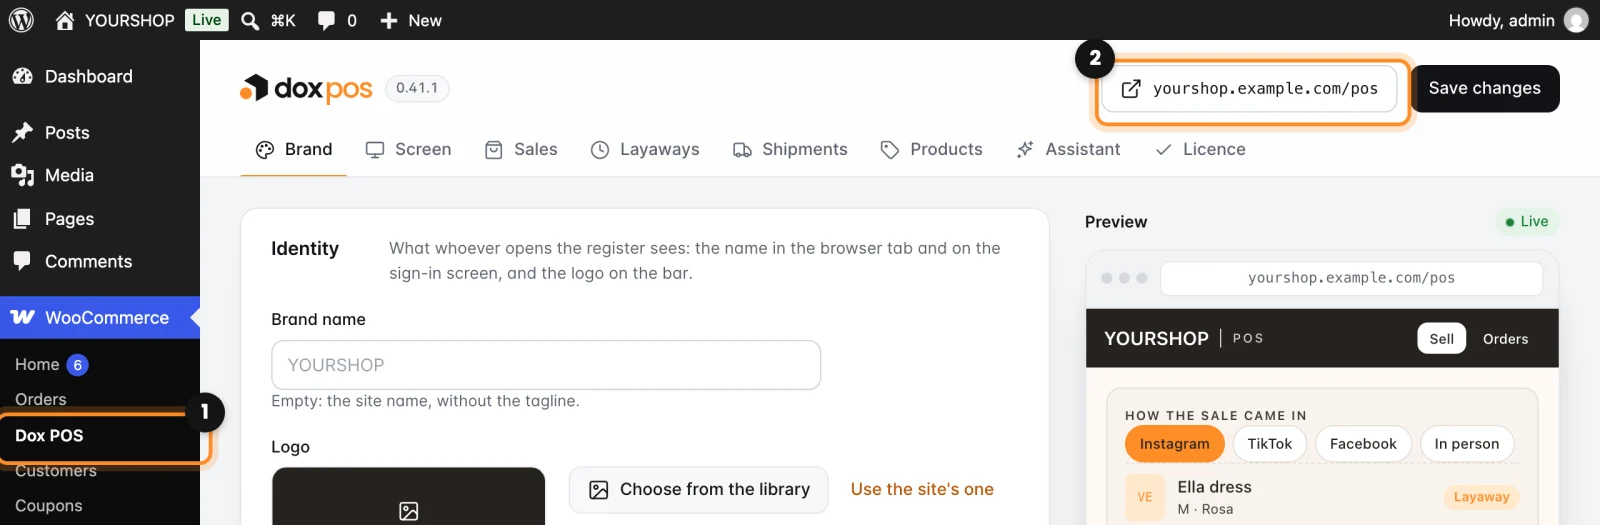
Free plugin · Dox POS 0.41 or newer
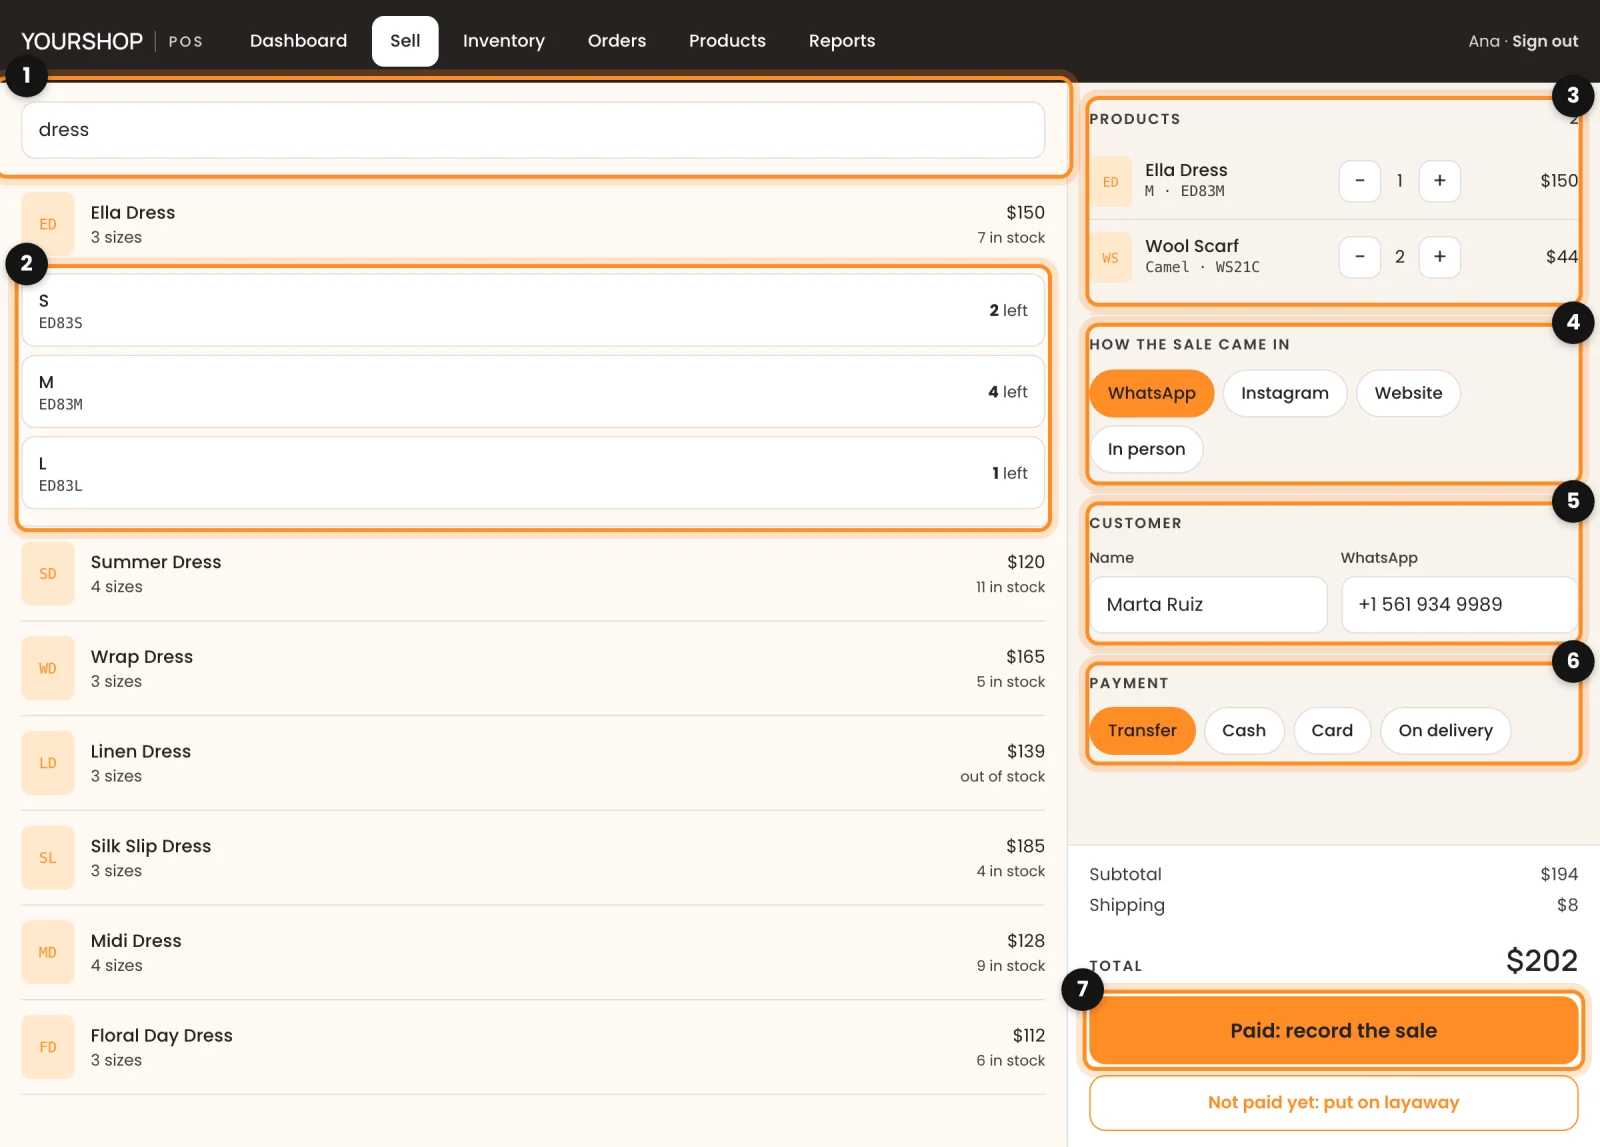
Each sale you record in the register is a WooCommerce order: the stock goes down on its own, and the order shows up in WooCommerce with the rest. This is a sale that came in through WhatsApp.
The seven steps
- Search for the product by name or SKU.
- Tap the size or the color, and it goes into the sale. Each one shows how many are left.
- Check the products and the quantities with − and +.
- Choose how the sale came in: WhatsApp, Instagram, Website or In person.
- Write the customer’s name and WhatsApp.
- Choose how they pay.
- Tap Paid: record the sale.
Not paid yet? Tap Not paid yet: put on layaway instead. The units are held for that customer, and the layaway cancels itself if it isn’t paid within the deadline you set in the Layaways tab of the settings.
What happens next
- The order is in WooCommerce › Orders, and the stock, the reports and the emails are the ones your store already had.
- Two people can sell at the same time. The order holds its units the same way the checkout does, so the last one can’t be sold twice.
- No signal? A sale recorded with the screen open and no connection stays on the phone and goes in on its own when the connection is back, without duplicating.
Note: the ways a sale comes in and the payment methods follow your store’s country. Rename them, turn them off or add your own in WooCommerce › Dox POS › Sales.
Before this: Install Dox POS and open the register